

A Magical Recycled Castle for Creative Kids
Little Dreamers Club
Posted by Joni Jones on April 09, 2026🏰 How to Make a Castle from Recycled Cardboard
Before you recycle that cardboard box…
turn it into a castle instead.
This hands-on upcycle craft transforms an ordinary box into a medieval fortress — complete with a working drawbridge. It's creative, imaginative, and a wonderful way to show kids how everyday materials can become something extraordinary.
Because sometimes saving the planet starts with asking:
“What else could this become?”
📌 Quick Overview
Ages: 5–10 (younger with help, older can customize!)
Time: 30–60 minutes
Mess Level: A little messy
Grownup Needed: Yes (for cutting & poking holes)
🧰 Materials
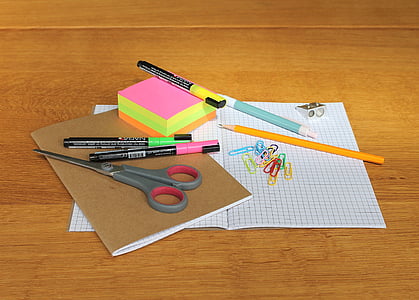


Medium cardboard box
Scissors (adult use)
Pencil
Stretchy string or twine (2 pieces)
Paint or markers
Colored paper
Tape or glue
Optional: dowels or sticks for flags
✂️ Step-by-Step Instructions
Step 1: Gather Your Materials
Clear a workspace and lay everything out.
Step 2: Create the Castle Roof
Have an adult cut notches along the top flap of the box to create the classic castle tower look.
(Tip: Even uneven cuts look charming!)
Step 3: Draw the Door
Using a pencil, draw a large archway on the front of the box.
Encourage kids to make it dramatic — tall and grand!
Step 4: Cut the Door
An adult should carefully cut along the arch shape, leaving the bottom attached. This creates the hinged door.
Step 5: Make It a Drawbridge
Poke two small holes on either side of the door and two matching holes slightly higher on the back of the box.
Thread string from the door to the back holes and tie secure knots. When pulled, the strings lift the door — just like a real drawbridge!
Step 6: Decorate Your Castle
Now the fun begins!
Paint stone details
Add colorful banners
Draw windows
Create flags
Add extra cardboard “towers”
Encourage kids to invent:
A royal family
A dragon guardian
A secret treasure room
🌊 Bonus: Build a Moat Around Your Castle
What’s a castle without a moat?
Adding a simple moat turns your recycled castle into a true fortress — and adds another layer of creative storytelling.
🧰 What You’ll Need
Blue construction paper, fabric, or paint
Small pebbles or rocks
Glue
Optional: foil, tissue paper, or cellophane for a water effect
🏗 How to Make It
Option 1: Easy Paper Moat (Great for Ages 5–7)
Cut a large blue oval or rectangle slightly bigger than your castle.
Place the castle in the center.
Glue small rocks around the edges to create a stone border.
Instant moat!
Option 2: Textured “Water” Moat
Lay down blue paper or paint a ring around your castle base.
Crinkle tissue paper or foil and glue it on top for a wavy water effect.
Add pebbles around the edge for realism.
This adds dimension and makes the castle look dramatic in photos.
🎭 Add Storytelling
Ask your child:
What lives in the moat?
Is there a friendly dragon?
Is the drawbridge always up or only at night?
Who is allowed inside the castle?
Now your recycled box isn’t just a craft — it’s a world.
🌎 The Sustainability Tie-In
Before buying new materials, look around your home:
Old wrapping paper (blue side)
Scrap fabric
Foil from packaging
Pebbles from your yard
Building a moat is a perfect reminder that creativity often starts with reusing what we already have.
Because when kids learn to see possibilities instead of waste, they grow into thoughtful creators.
🌎 The Learning Layer
This isn’t just a craft.
It teaches:
Creative reuse
Engineering basics (hinges + tension)
Problem-solving
Fine motor skills
Storytelling and imaginative play
Upcycling shows children that materials don’t have to be thrown away — they can be transformed.
That’s real sustainability in action.
More Magical Creations to Explore
Ready to build another imaginative world? Our Mythical Creatures Craft Box for Ages 6–8 invites kids to explore dragons, legends, and make-believe through hands-on crafts that combine creativity, building, and storytelling.
Explore the Mythical Creatures Craft Box for Ages 6–8 →
Create. Play. Learn.